
Shop The Wicked Edge Knife Sharpener Range


Wicked Edge Australia
The Wicked Edge precision knife sharpener is made in the USA from top-quality materials. Wicked Edge Australia offers the complete range of sharpening systems including the wicked edge generation 3 and wicked edge generation 3 pro systems. and Wicked Edge Australia offers the popular 100 series that includes the wicked edge WE120, wicked edge WE130 and the newer WE60 GO and WE66 Obsidian
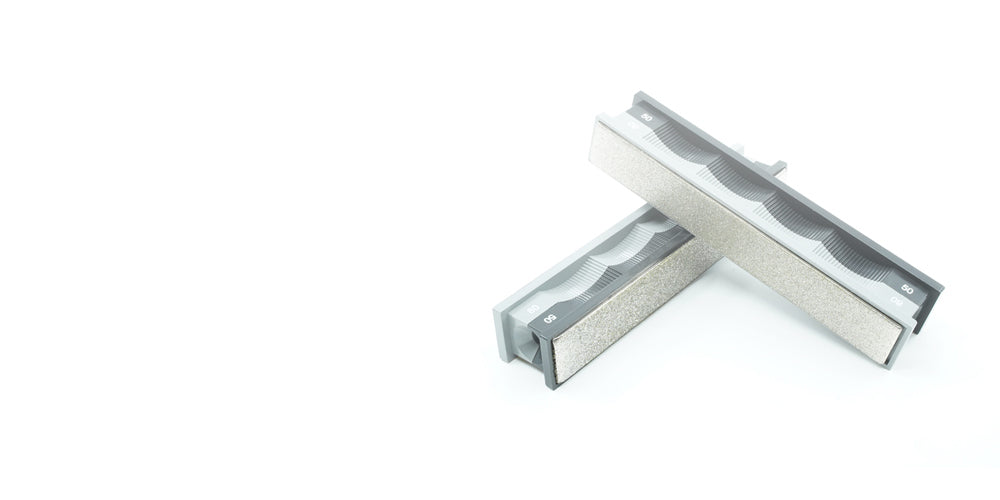
Wicked Edge Australia stocks all your favourite sharpening stones and accessories like the popular 800/1000 Diamond paddles.
How the Wicked Edge Knife Sharpener Helps You create Such Great Results

Gen 3 Professional Rapid Angle Adjustment Mechanism

Wicked Edge Knife Sharpening Systems Australia
Zanvak are the exclusive distributors for Australian & New Zealand of Wicked Edge Precision Knife Sharpeners. Zanvak offers a range of Wicked Edge sharpening systems, stones and accessories all under one roof. Shop with confidence knowing that you are supported with local & knowledgeable custom service support, warranties and fast shipping.
Wicked Edge knife sharpening systems are made from high quality materials and manufactured in state of the art facilities. Wicked Edge offers a wide range of knife sharpening systems to keep your knife in peak condition for when you need it the most. So no matter if you are cooking a roast at home, an avid knife collector, fishing, campaign or for tactical situations you can trust that your Wicked Edge sharpening system will be the tool that will transform your blunt knife to hair popping sharp!!
Have a knife sharpening system question? Feel free to reach out to our team. From industry experience, we’re happy to speak with you about your regular usage and process, and suggest the equipment we believe will best suit your needs!
Basic Knife Sharpening Instructions
- Insert the two prongs of the Depth Key into the two holes in the Alignment Guide
- For narrow-bladed knives, insert the Depth Key into the top pair of holes in the Vise. For wider blades, use the lower pair for increased holding power.
- Using the Vise Key, loosen the top screw of the Vise until the back of your knife fits easily between the jaws of the vise and rests on the prongs of the Depth Key.
- Holding the knife so that the back of the blade is in contact with both prongs of the Depth Key and the tip of the blade is pointing directly away from you, slide the knife forward or backward until the blade is approximately centred in the Vise, then further adjust the position of the knife until the tip is lined up with the nearest mark on the Alignment Guide
- Tighten the top screw of the Vise until the knife is lightly held in place, then tighten the bottom screw until the knife is firmly held in place. Do not over tighten! Remove the Depth Key and Alignment Guide from the Vise. For long, thin blades, such as a fillet knife, insert the Knife Brace into the hole in the top of the Base with the slotted end up, then place the knife into the Vise and the slot in the Knife Brace.
- Loosen the thumbscrews on each Collar and slide the Collars in or out along the Base Rod until the inside edge of each Collar is aligned with the desired degree mark, then tighten the thumbscrews by hand. Do not use pliers.
- If this is the first time your knife has been sharpened using the Wicked Edge sharpening system, or if you are changing the angle of the knife’s edge, place the red/orange, Coarse/Medium-Coarse 100-200 grit pair of Diamond Blocks on the Guide Rods. If you have already sharpened your knife on the Wicked Edge and you are just touching it up, then skip ahead to the end of these instructions to the section titled: Touch-ups.
- With the tip of the knife pointing away from you, grasp the Diamond Blocks with your fingertips in the indentations, being careful to keep your fingertips behind the coloured trays that hold the stones. Rotate the Diamond Blocks upward and place the red, 100 grit Coarse Stone flat against the heel of the blade, as shown in Fig. 6. Hold the other Diamond Block out away from the knife.
- While applying moderate pressure to the blade with the Coarse, 100 Grit Stone, slide the stone up and away from you toward the tip of the blade. This stroke is finished when the tip of the blade reaches the bottom of the stone
- Be careful not to slide the stone off the edge of the knife. Repeat this motion with the opposite stone. Continue this procedure, switching from side-to-side with each stroke. Periodically inspect the blade to see if the scratches made by the stone have reached the edge. If you are not sure, a simple test can be used: Apply five strokes to one side of the blade, then drag a cotton swab up the opposite side of the blade until it comes off the edge. If it snags on the edge, you have completed setting the angle on that side of the knife. Be sure to check along the entire length of the blade. Repeat this procedure on the other side of the blade. Once the angle is set on both sides, polish the edge by progressing through the orange-200 Grit, yellow-400 Grit, and green-600 Grit stones using the same heel-to-tip stroke that you used to begin the sharpening process, alternating between sides at each stroke.
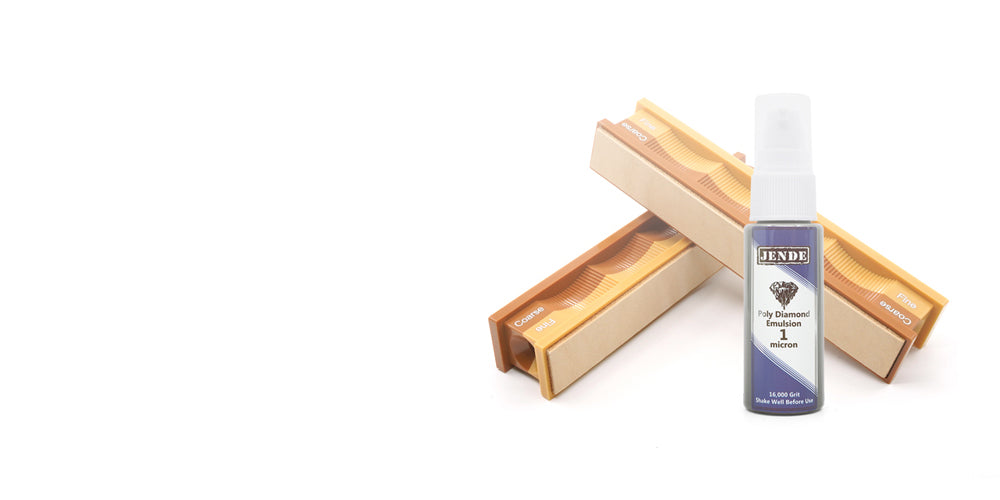
- If you have purchased the Extra-Fine/Ultra-Fine Accessory Stones, then you may continue to polish the edges starting with the blue, Extra-Fine Stones and finishing with the purple, Ultra-Fine 800-1000 Grit Stones.
- To remove the knife from the sharpener, firmly grasp the handle of the knife with one hand, while loosening the bottom screw of the Vise. Carefully remove the knife. If necessary, loosen the top screw as well. Congratulations! You now have a Wicked Edge on your knife!
Touch-Ups
Follow Steps 1 through 5 to mount your knife in the Vise. Be sure to use the Depth Key and Alignment Guide to place your knife in exactly the same position as when you first sharpened it. Now set the sharpening angle as described in Step 6 to the same angle you used previously on this knife. It may be useful to keep a record of the sharpening angles and mounting positions for each of your knives.
To begin touching-up the edge of your knife, use the green Fine Stones. Use the same heel-to-tip stroke technique described in step 9. Five to ten passes on each side should be enough for frequent touch-ups or lightly used knives.
More passes may be necessary for knives that receive heavy use or infrequent touch-ups. If you have purchased the Extra-Fine/Ultra-Fine 800-1000 Grit Accessory Stones, use the purple, Ultra-Fine Stones first. If you find that your knife’s edge cannot be fully restored with the Ultra-Fine Stones, then you may need to go back to the Extra-Fine Stones. Unless you have badly damaged your knife’s edge, you should never need to use a stone with a coarser grit than the green 600 Grit, Fine Stone.
Top Tips For Beginners
Start with a cheap / practice knifeStones perform better when broken-in (after a few sharpening sessions); it’s best to learn, and to break-in your stones on a knife you’re not nervous about.
- Find the right angle. Use a sharpie to blacken your blade edges; then observe where the stones are removing the black, and adjust your angle accordingly. Raise a burr, and ensure it’s there before progressing to the next grit.
- Find the right front-to-back placement to clamp your knife. Don’t let the stone rotate around the tip; keep it moving forward.
- Keep your strokes light / gentle. No need to push the stone against the blade; keep a light grip on the stones.
- After sharpening, record your settings to reference them the next time.
Wicked Edge sharpening system range
Here is a quick overview of the Wicked Edge range: